
iStorage Server Online Help

| About Create Virtual CD/DVD-RW burner | KernSafe iSCSI SAN User Manual |
|
Virtual CD/DVD-RW is a virtual device that is created by KernSafe iSCSI SAN. Virtual burner created by this option allow to burn files directly to an ISO file. center. After connecting virtual CD/DVD-RW burner to a Windows based machine, it will appear in devices list as a CD/DVD recorder. It will be properly recognized by any burning software as well as by default Windows 7 burning wizard. User will be able to easily drag and drop data onto such disk and when he will start the burning process, all data will be saved onto an ISO file. Creating A Virtual CD/DVD-RW burner Follow the steps below to create a virtual burner device: Step 1. Select Service-> Create Target from the Storage pop-up menu on the main interface of KernSafe iSCSI SAN Management Console.
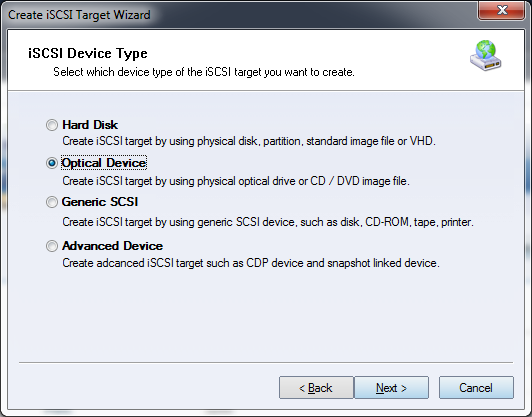
Choose Optical Device in the iSCSI Device Type group. Press the Next button to continue.
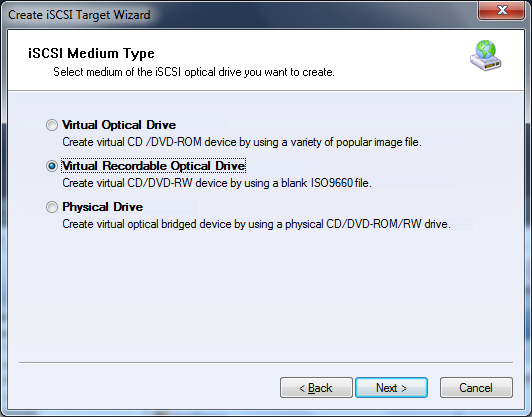
Choose Virtual Recordable Optical Drive in the iSCSI Medium Type group. Press the Next button to continue. Step 2. Press the Browse button to select drive type.
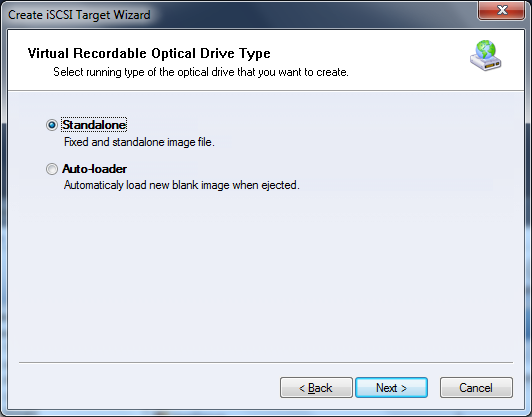
Here, you may either choose Standalone or
Auto-loader option. Press the Next button to continue. Step 3. CD/DVD-RW Device Configuration
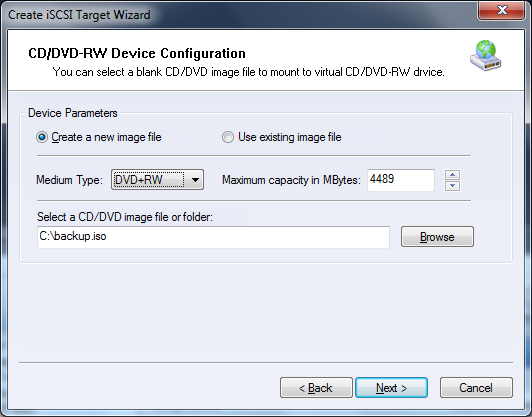
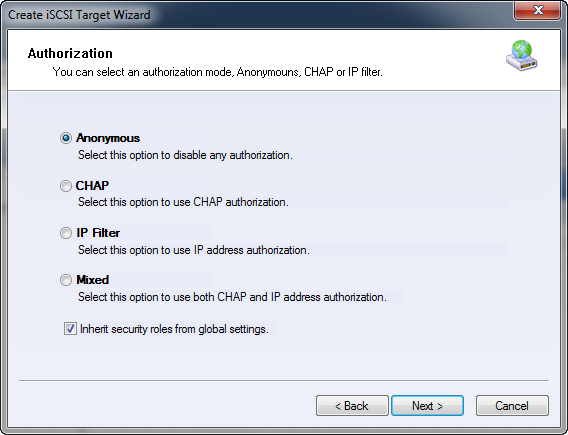
Select if you wish to create new file or use existing one. Choose your Medium Type and specify its Maximum capacity. Select where you wish to save your images. To preserve free space, all ISO files are dynamically expanded, therefore their size depends on size of content. Press the Next button to continue. Step 4. Set the Authorization Mode
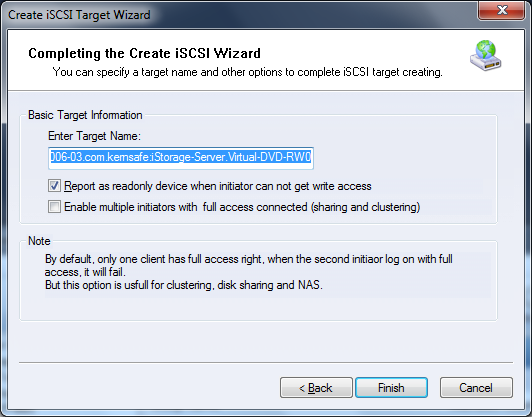
Select an authorization mode, if you don't know how to do it, you can see the topic Authorization Mechanism. Press the Next button to continue. Step 5. Enter the Target Name.
Press the Finish button to complete iSCSI target device creation. | |
SUPPORT
- Forum
- Support Ticket
- [email protected]

- Voice Mail:
- +1 (518) 289-4888